Diagnostic marker trajectories and detection windows PowerPoint Template
Editable diagnostic marker trajectories and detection windows worksheet with a fictional worked example and a fill-in slide. Preview both pages; download the 2-slide PPTX for 1 credit.
View in library · PPTX · 1 credit
Sign in to download. One credit unlocks the complete 2-slide file; repeat downloads are free.
When to use this template
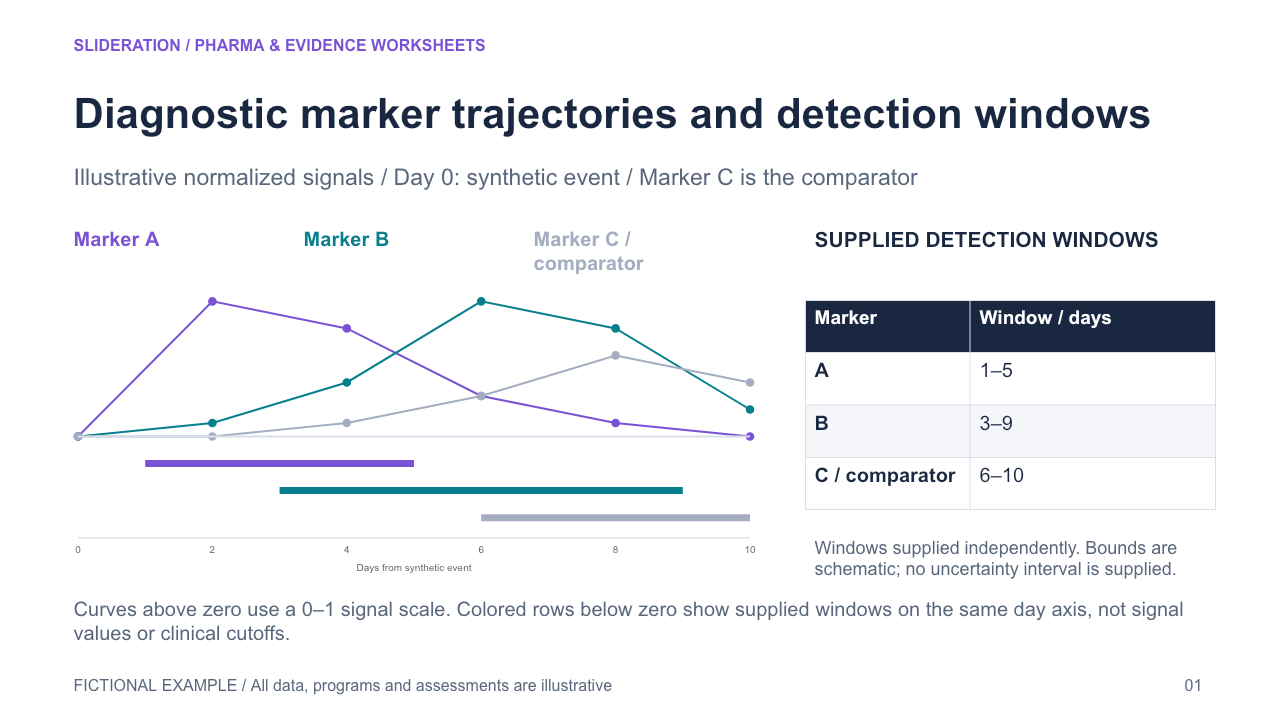
Align biomarker trajectories and test detection windows on a common time axis. Keep the comparator, window definition and uncertainty explicit. Existing threshold zones apply to one result scale, while ordinary line charts do not express marker-specific detection windows.
What you can edit
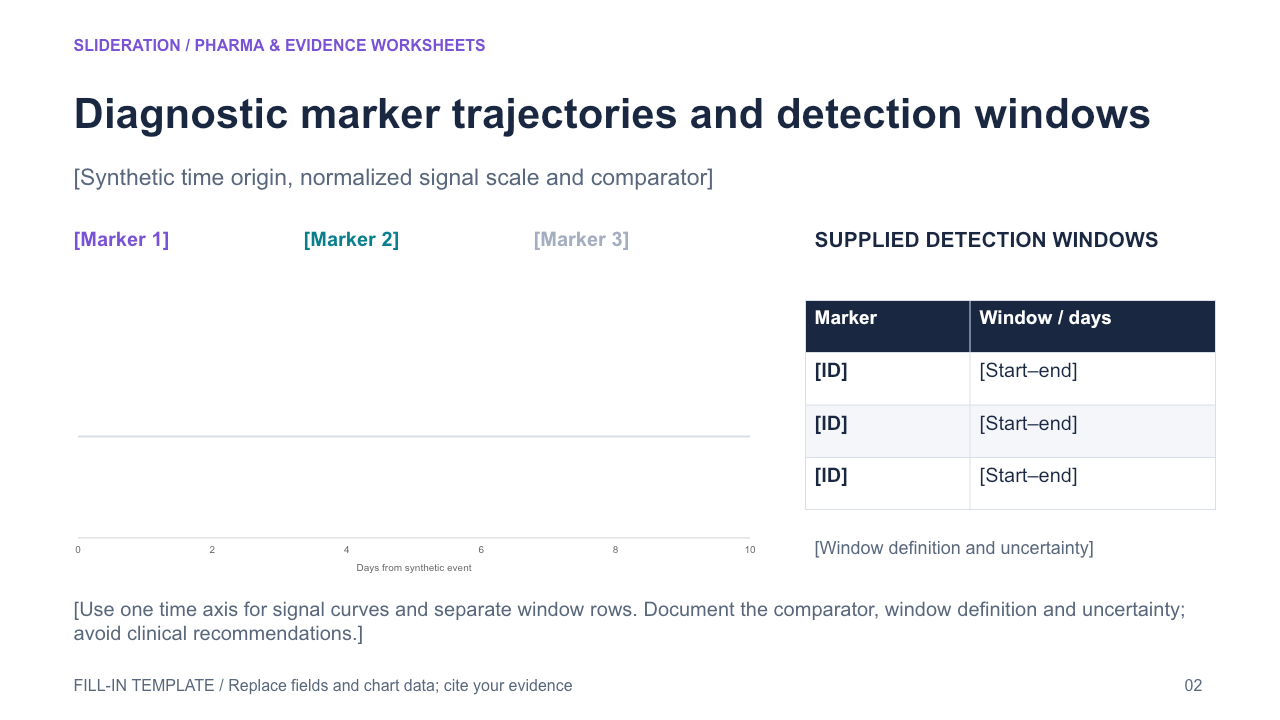
Edit the text, table cells and any native chart data in PowerPoint. The second slide keeps the structure and provides replacement fields. Chart templates use zero seed values on the fill-in slide; replace these together with the associated definitions and tables.
Use the evidence correctly
Use fictional markers and timepoints. Identify time origin, relative scale and the distinct definitions of detection or decision windows. Draw an original schematic and label it illustrative. Avoid deriving clinical cutoffs, assay performance or timing recommendations from the source artwork.
- Define your population, reporting period, measures and evidence sources.
- Duplicate the fill-in slide and replace every bracketed field and chart value.
- Check units, denominators, labels and conclusions against your source before presenting.
View in library · PPTX · 1 credit
Sign in to download. One credit unlocks the complete 2-slide file; repeat downloads are free.
All example content is fictional. Original Slideration template; no company endorsement. Use in your own presentations and client work under our slide licence. Redistribution or resale of template files is not permitted.
Will this fit your material?
- Expression purpose
- Present evidence and uncertainty
- Structure in this file
- Diagnostic marker trajectories and detection windows — Align biomarker trajectories and test detection windows on a common time axis. Keep the comparator, window definition and uncertainty explicit. Existing threshold zones apply to one result scale, while ordinary line charts do not express marker-specific detection windows.
- Prepare before editing
- Defined measures, populations or categories, units, sources, cutoff and uncertainty where available.
- Density and capacity
- Use the preview’s existing number of panels, rows and labels as your starting capacity. For more content, split the story across slides before shrinking text. Table dimensions below describe this file, not a maximum.
- Choose another layout when
- Use fictional markers and timepoints. Identify time origin, relative scale and the distinct definitions of detection or decision windows. Draw an original schematic and label it illustrative. Avoid deriving clinical cutoffs, assay performance or timing recommendations from the source artwork.
- Editing effort
- Keep each result with its denominator and evidence status. Match claims to what was measured. This is an editable template, not automatic content replacement. You supply and verify the content.
What can I edit?
- Native PowerPoint tables: 4 rows × 2 columns on the first slide, including any header rows. Edit cells directly.
- First-row fields: Marker / Window / days. Replace these fields and their associated values together.
- 1 native chart(s) on the first slide. Replace chart data and visible labels together.
- Text and shapes remain editable. Check the preview for any illustrative pictures; picture content is replaced as an image.
2 slide(s) in the complete file. Includes a worked example and a fill-in slide.